

Measuring Like a Designer
*This post contains Amazon affiliate links. If you use these links to buy something, Allegra Interiors LLC may earn a commission at no extra cost to you.
We’ve been busy bringing on new clients and one thing we’re finding that makes every renovation project easier from the start is measuring your space correctly!
Whether you're working with a designer, ordering custom furniture, planning a renovation, installing window treatments, or designing a room yourself, accurate measurements prevent avoidable mistakes such as:
Ordering the wrong size furniture
Layout frustration
Wasted time and money
Costly reorders
Think of measuring as laying the foundation. If the numbers are wrong, everything built on top of them will be too. Accurate measurements help your designer (Allegra Interiors) create a room that actually works in real life, not just on Pinterest. Here’s exactly how to do it the designer way.
Step 1: The Right Tools
Having the proper tools makes this process smoother and way more accurate. Here are our go-to essentials:
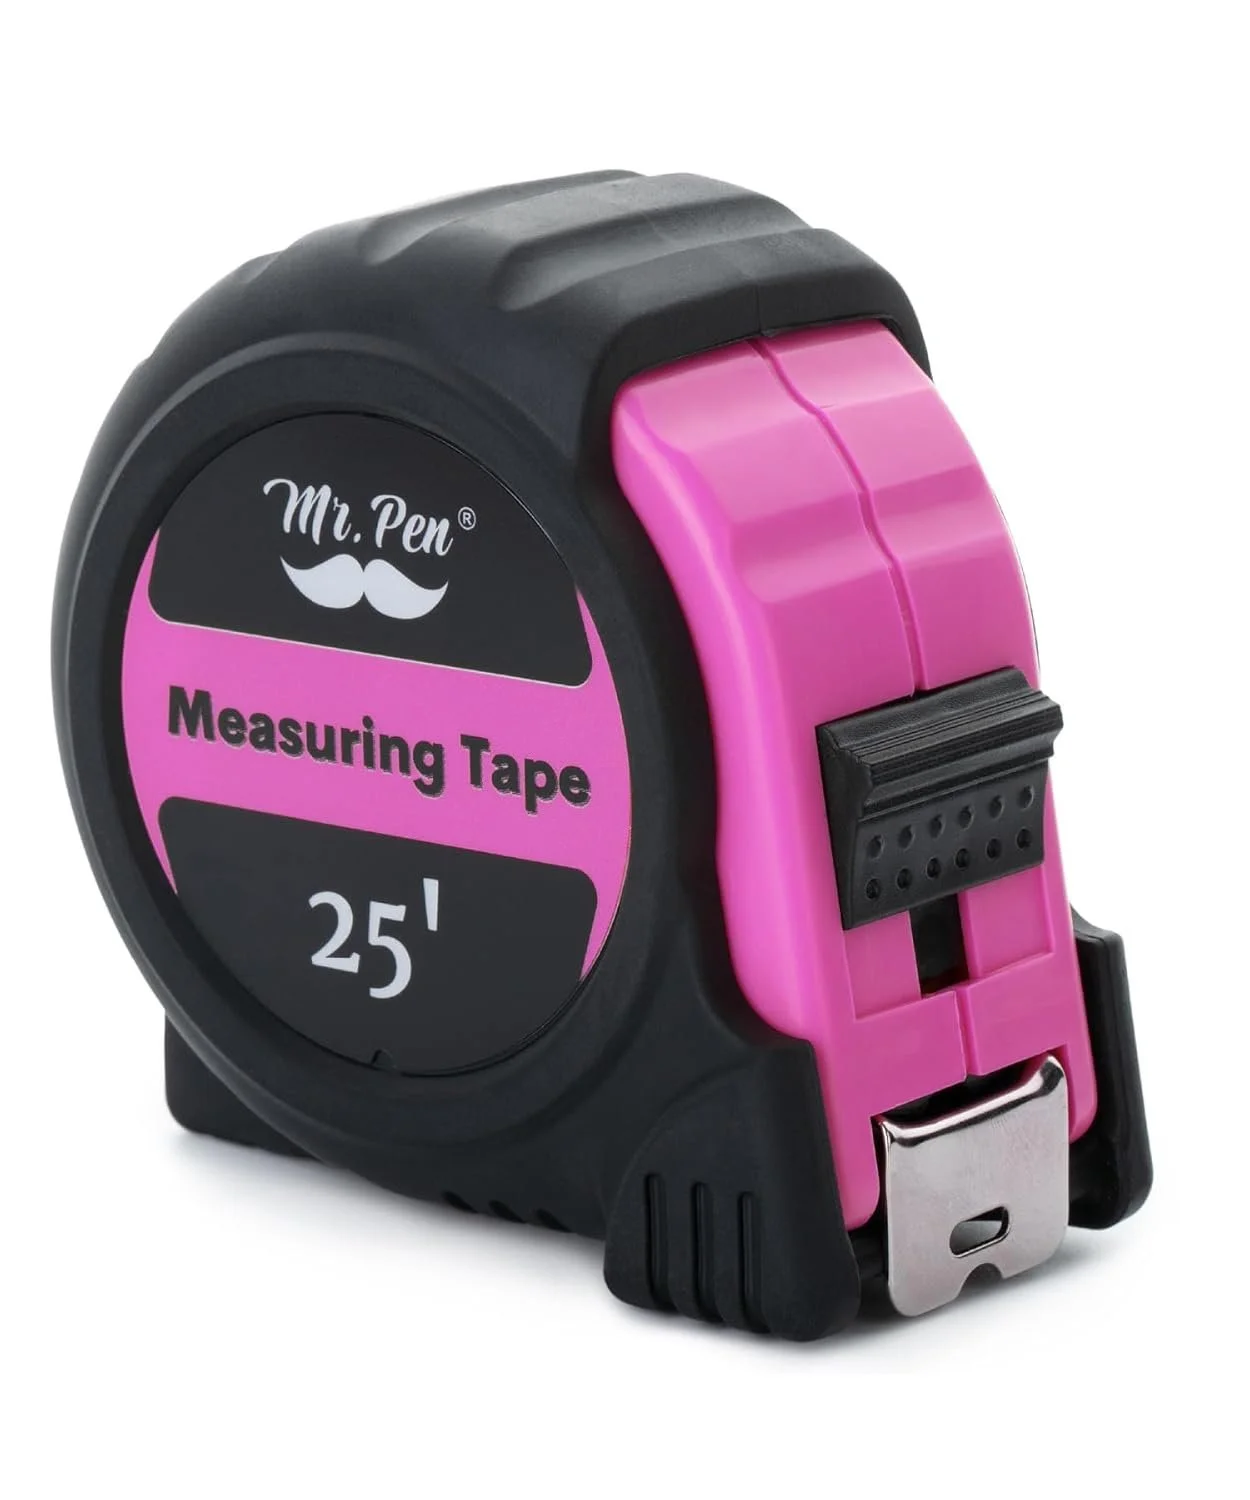
25' Measuring Tape (minimum!)
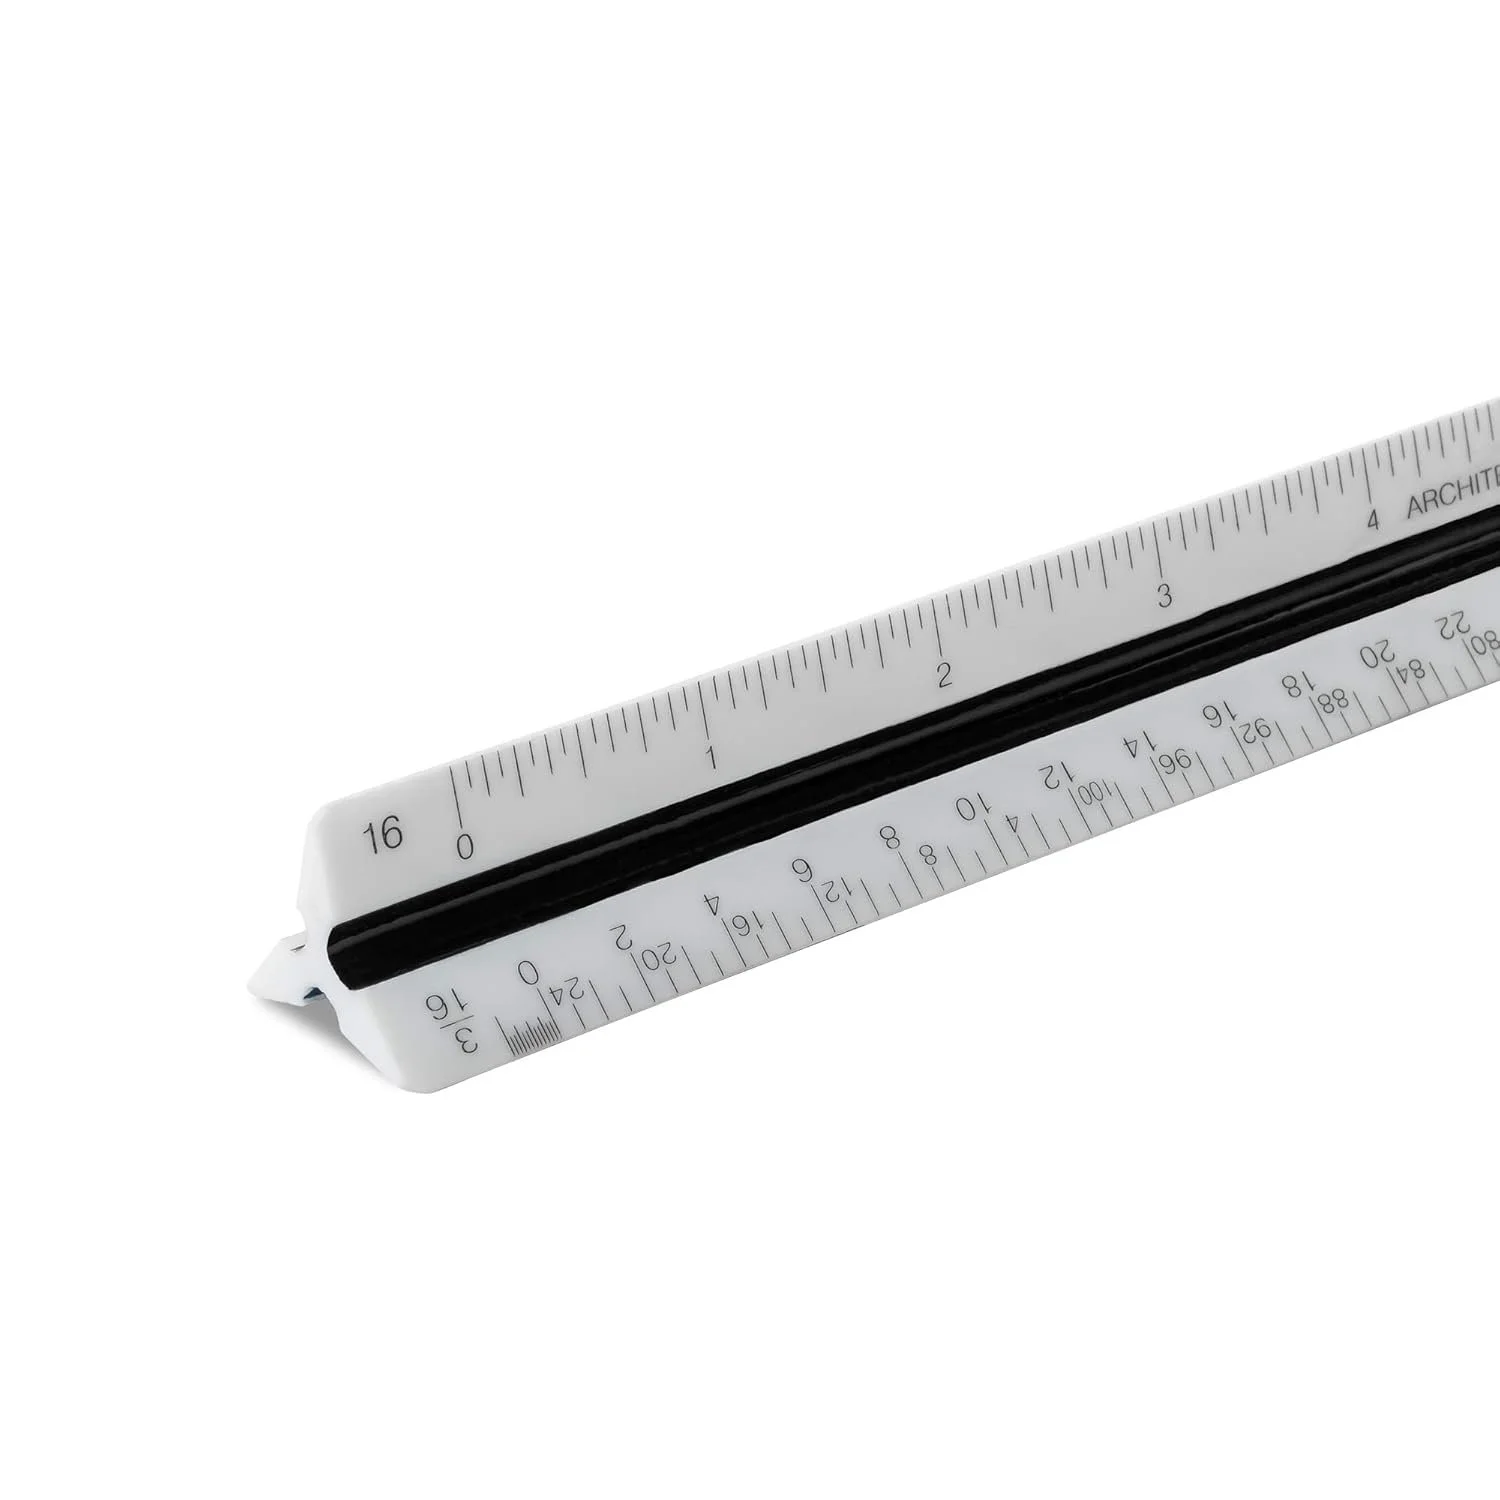
The longer the tape measure, the better. Ideally 25’ so you can measure full walls without stopping.Architectural Ruler
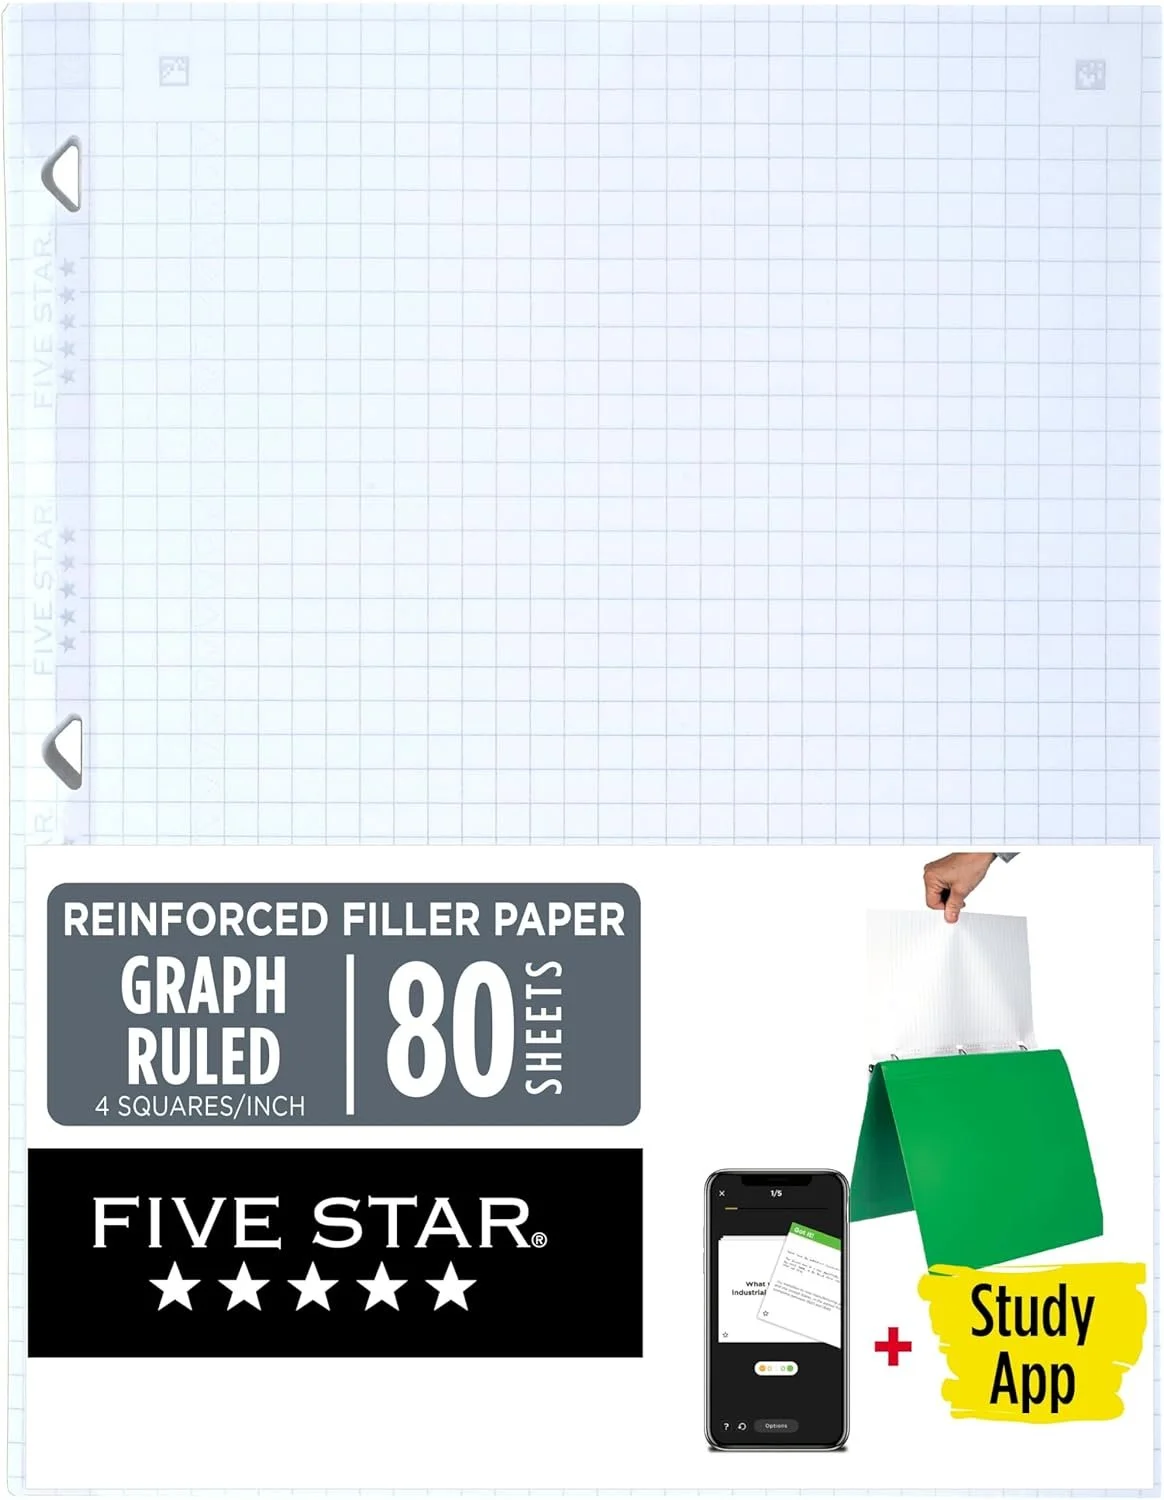
This makes scaling your drawings clean and legible.Grid Paper
Helps keep your sketch organized and easier to translate later.18” Ruler
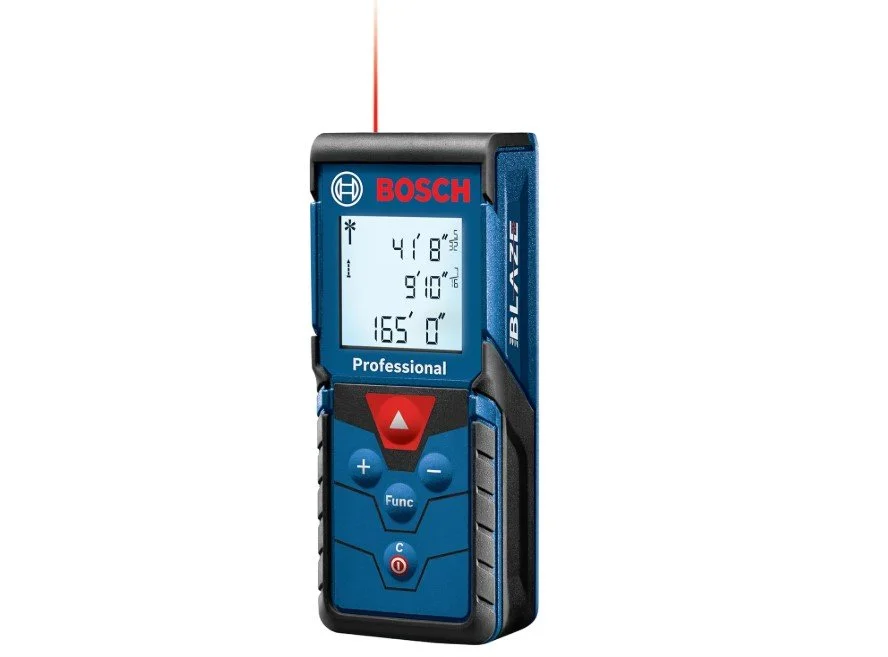
Amazing for any kind of drafting, but ensures your lines are completed with no interruptions.Laser Measure (for open concept areas)
I don’t leave the house without mine. This one has a range of 165ft.Mechanical Pencils with Erasers
You will make adjustments. Save yourself the messy cross-outs.
Pro tip: Always measure with your tape flat against the wall or surface. Never have it floating in the air. Accuracy matters.

Step 2: Roughly Sketch the Room
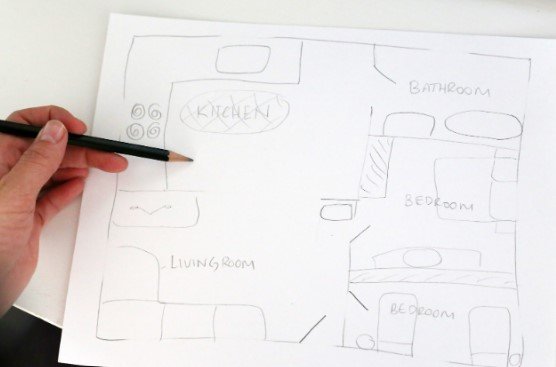
Start by drawing a rough sketch of your room. And I mean rough. This does not need to be pretty or perfectly to scale. The goal is clarity and accuracy, not artistry.
On your sketch, note:
Windows
Doors
Fixed furniture pieces (such as cabinets, vanities, or built-ins)
You’re simply creating a map of the space so your measurements have context.
Step 3: Measure the Overall Room
Before getting into details:
Measure the full length of each wall.
Measure the full width of the room.
Write those dimensions clearly on your sketch.
These are your foundational numbers. Everything else will build off of them.
Step 4: Measure Walls, Windows & Doors
Now is the time to get specific. For each window and door, measure:
Width
Height
Distance from the floor
Distance from the ceiling
Distance from adjacent walls
If something is built-in (like shelving, cabinetry, fireplaces, etc.), measure those too. Precision here makes layout planning infinitely easier.
Start implementing this information on the graph paper. The easiest way to do this is to consider each box on the sheet as 1’x1’. This way a 10’x10’ room takes up ten squares on all four sides.
Step 5: The Details
This is where many people miss important information, but it’s critical for real-world function.
Depending on your scope of work, measure and note the location of:
Outlets
Light switches
Thermostats
Air vents & returns
Baseboards
Crown molding
Light fixtures
Also note the distance between these items when relevant.
Why does this matter? Because:
You don’t want a sofa blocking a return vent.
You don’t want artwork covering a thermostat.
You don’t want a bed blocking an outlet.
Function is just as important as form.
Designer Tips for Accuracy
Measure everything twice.
Keep your tape flat and pulled tight.
Label clearly and legibly (future you will thank you).
If a wall isn’t perfectly square please note it.
The more accurate your measurements, the smoother the design process will be.
If you’d like a copy of the measurement guide I send to my clients, reach out! I’m happy to share it. Getting this step right makes the entire design journey smoother, faster, and way more enjoyable.
We want you to have a smooth design process from the beginning, which is why starting with accurate measurements makes all the difference.